Why this matters
Every receipt you can't find is a business expense you can't prove. Auditors, accountants, and common sense all agree: organized receipts are the foundation of year-end bookkeeping. The good news is that a year's worth of chaos can be tamed in one focused weekend — you just need a system before you start sorting.
Step 1: Gather everything into one place
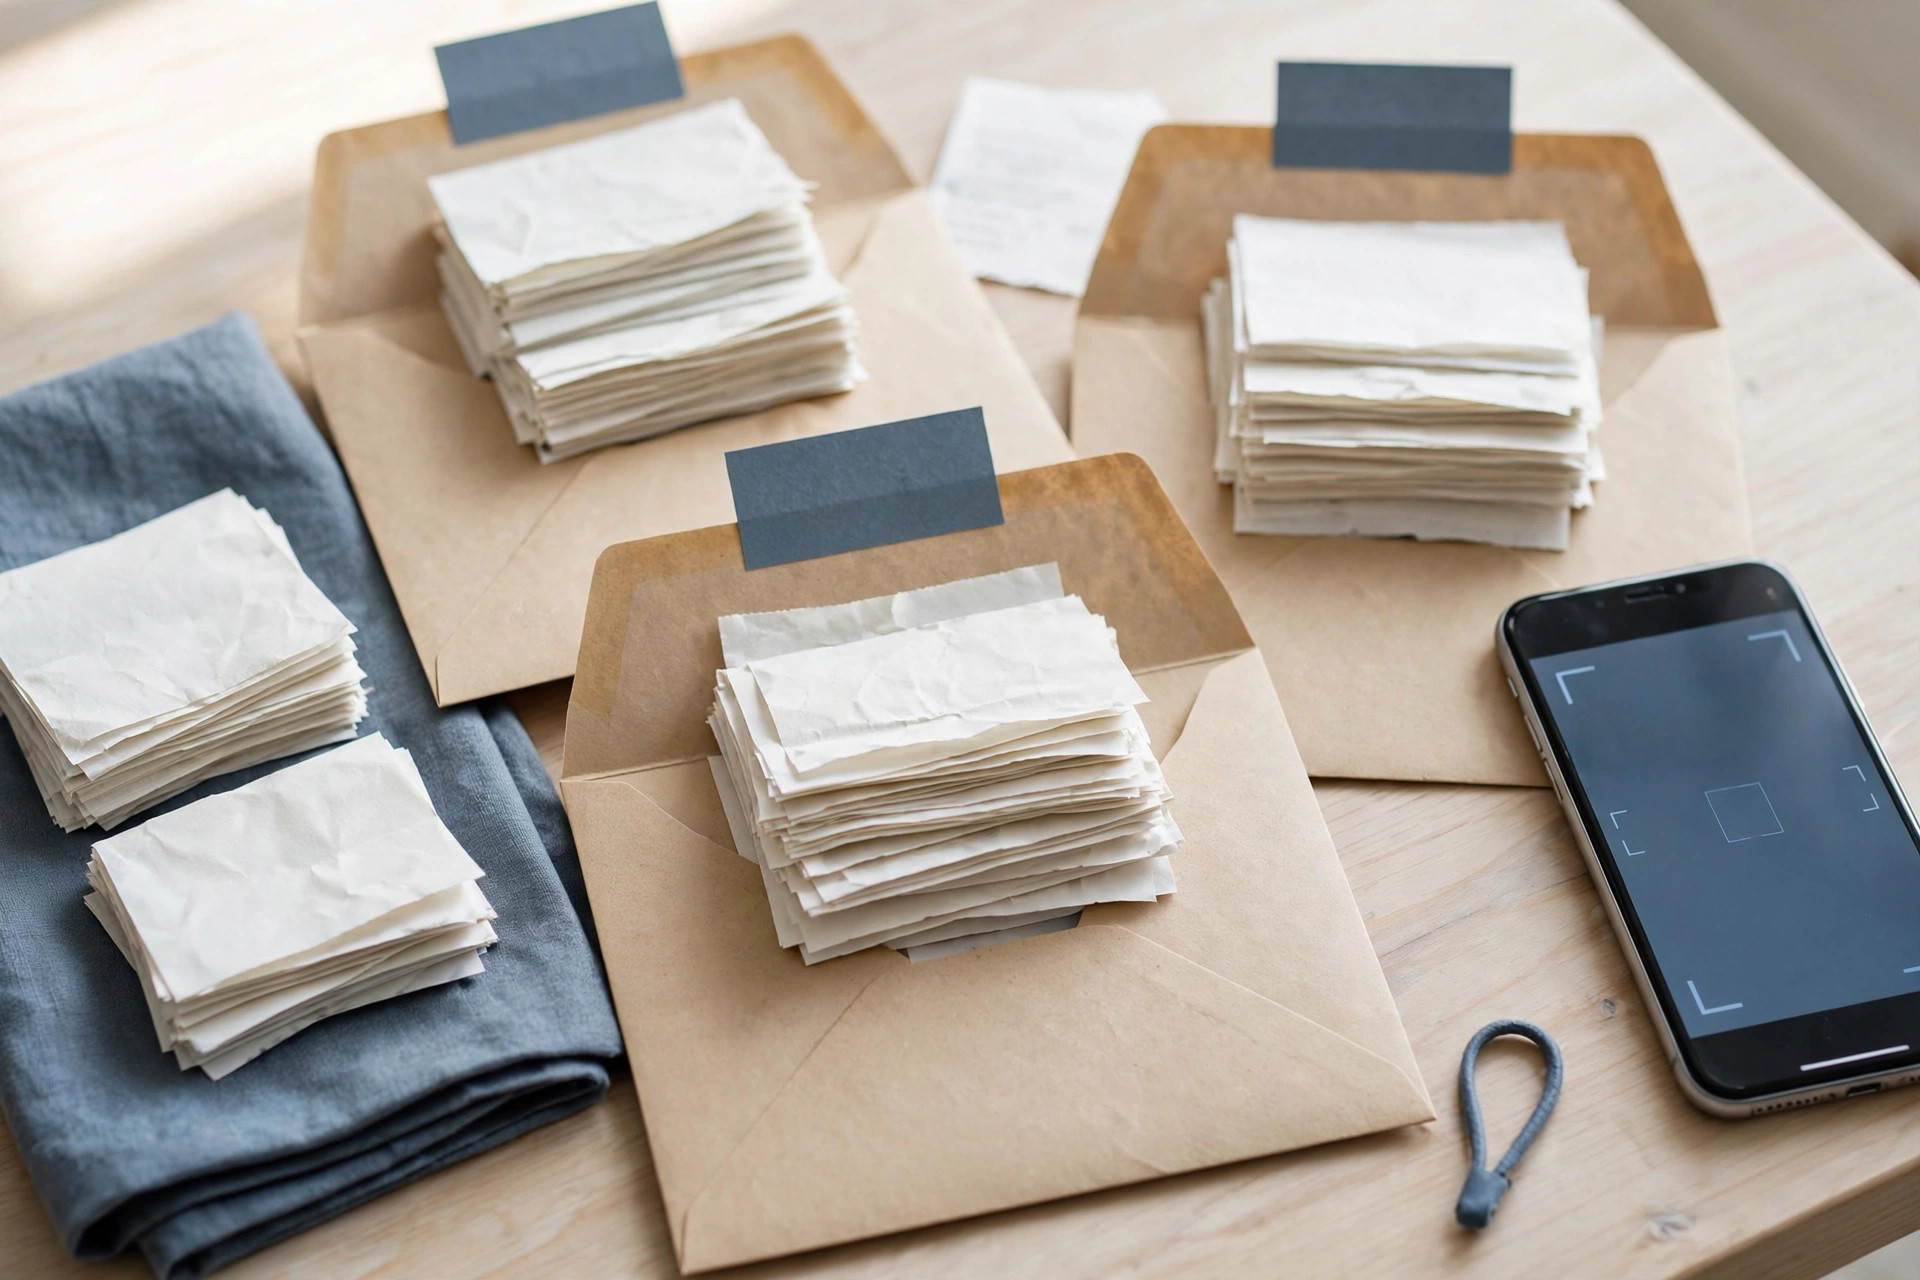
Before you sort a single receipt, collect them all. Check the usual hiding places: glove boxes, jacket pockets, desk drawers, wallets, email inboxes, and photo rolls (many of us "save" receipts by photographing them and then forgetting). Your goal is one physical pile and one digital folder called something like Receipts — [Year].
Step 2: Sort into categories
Work quickly — don't overthink it. Most small business receipts fall into a handful of buckets:
- Office and supplies — stationery, software subscriptions, printer ink, postage.
- Travel and meals — flights, hotels, mileage, business meals (note who you met and why on the back while you remember).
- Equipment and tools — computers, machinery, furniture, anything with a long useful life.
- Professional services — accountants, lawyers, designers, consultants.
- Advertising and marketing — ads, website costs, printed materials.
- Rent, utilities, insurance — premises and the bills that keep the lights on.
- Miscellaneous — the unavoidable junk drawer; keep it small.
Tip: if a receipt serves a mixed personal/business purpose (like a phone bill), keep the receipt and make a note of the business-use estimate. Your accountant will decide how to treat it — your job is to make sure it's documented.
Step 3: Digitize everything
Paper fades, gets lost, and is miserable to search. Digital copies are your backup and, in many cases, perfectly acceptable records — but confirm with your accountant what format they prefer and whether they need originals kept.
- Scan or photograph each receipt — use a phone scanning app rather than plain photos; they straighten, sharpen, and export PDFs.
- Name files consistently — e.g. 2026-11-03_office-supply-staples.pdf. Date-first names sort themselves chronologically.
- Save to one backed-up location — cloud storage plus a local copy is a simple, robust setup.
- Shred the paper only after the digital copies are verified and backed up — and check any legal retention requirements with your accountant first.
Step 4: Match receipts to your records
Cross-check the sorted pile against your bank and card statements month by month. This catches two things: expenses you forgot (a receipt exists but the transaction never got recorded) and mystery charges (a transaction exists but you have no receipt). For the mysteries, a few minutes of memory-jogging now beats a confused accountant in March.
Step 5: Flag the big-ticket items
Pull aside receipts for anything expensive or long-lived — computers, vehicles, renovations, large equipment. These often get different tax treatment than everyday expenses (many jurisdictions spread the deduction over several years). Mark them clearly and hand the list to your accountant with a highlight.
Make next year easier
The best receipt system is the one you'll actually use. Pick the smallest version that works: a phone app you already open daily, an envelope per month, or a weekly 10-minute "receipt date" on your calendar. The year-end version of you will be grateful.